In the scorching heat of summer, a malfunctioning air conditioner can turn your home into an uncomfortable sauna. Fortunately, many air conditioner repairs can be performed without the need for professional assistance تعمیر کار اسپیلت. By following a step-by-step guide, you can troubleshoot and fix common AC problems, saving time and money. Let’s delve into the process of DIY air conditioner repairs.
Step 1: Diagnose the Problem The first step in repairing your air conditioner is to identify the issue. Common problems include lack of cooling, strange noises, or airflow issues. Start by checking the thermostat settings to ensure they are correctly configured. If the thermostat seems fine, inspect the air filter for dirt and debris buildup. A clogged air filter can restrict airflow and reduce cooling efficiency.
Step 2: Clean or Replace the Air Filter A dirty air filter can impede airflow and strain the air conditioner’s components. Locate the air filter, typically found near the air handler unit or inside the return air grille, and inspect its condition. If the filter appears dirty or clogged, clean or replace it with a new one. Regularly cleaning or replacing the air filter can improve indoor air quality and prolong the lifespan of your air conditioner.
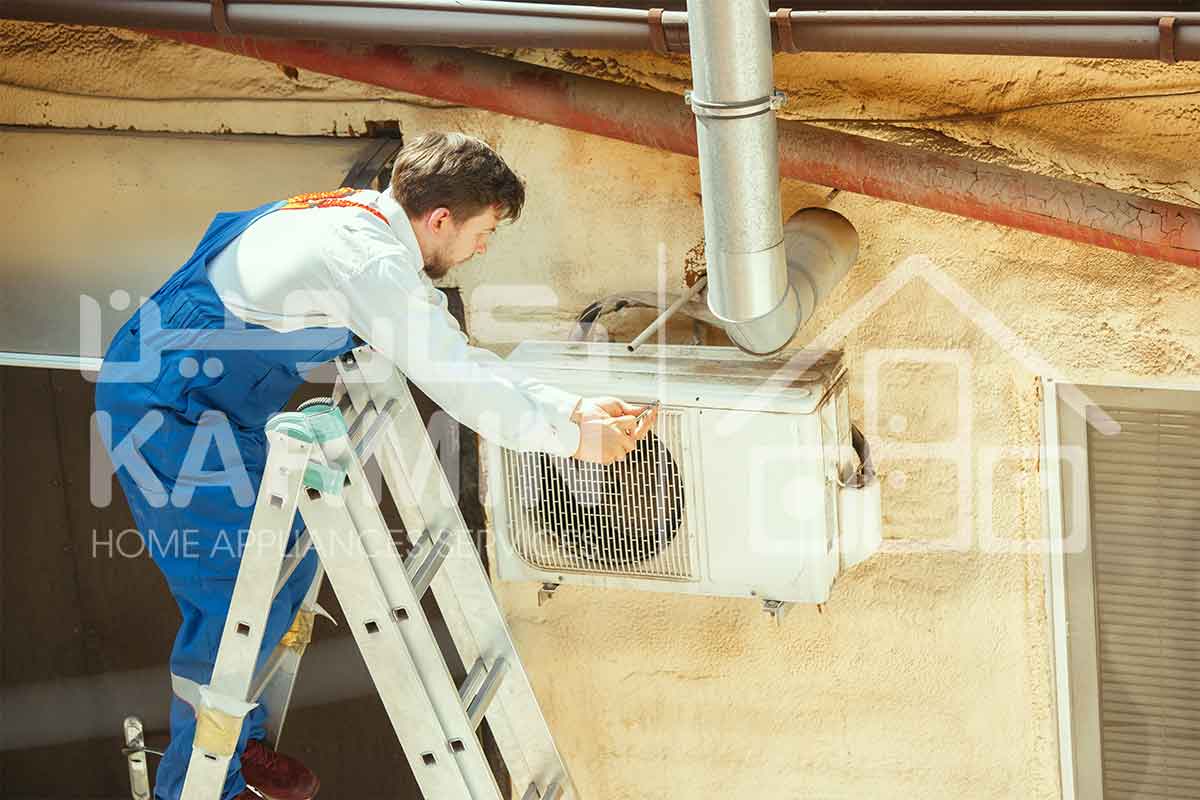
Step 3: Check the Condenser Unit The condenser unit, located outside your home, plays a crucial role in the cooling process. Inspect the condenser unit for any debris such as leaves, twigs, or dirt accumulation. Clear away any obstructions and ensure that the area around the condenser is free from obstacles. Additionally, check the condenser coils for dirt and grime buildup. Use a soft brush or a vacuum cleaner to gently clean the coils and improve heat transfer efficiency.
Step 4: Inspect the Refrigerant Levels Low refrigerant levels can cause your air conditioner to perform inadequately or stop cooling altogether. Check the refrigerant levels by inspecting the refrigerant lines for any signs of leaks or damage. If you notice refrigerant leaks, contact a professional HVAC technician for repairs. Attempting to handle refrigerant leaks without proper training and equipment can be hazardous.
Step 5: Test the Capacitors and Electrical Connections Faulty capacitors or loose electrical connections can disrupt the operation of your air conditioner. Turn off the power to the air conditioner before inspecting the capacitors and electrical connections. Visually inspect the capacitors for any signs of bulging, leakage, or physical damage. Tighten any loose electrical connections and replace damaged capacitors if necessary. Exercise caution when working with electrical components to avoid the risk of electric shock.
Step 6: Reset the Air Conditioner If you’ve completed the troubleshooting steps and your air conditioner still isn’t functioning properly, try resetting the system. Turn off the power to the air conditioner at the circuit breaker or disconnect switch for a few minutes, then restore power and test the unit again. Resetting the air conditioner can sometimes resolve minor issues and restore normal operation.
Step 7: Schedule Professional Maintenance While many air conditioner repairs can be performed DIY, some issues require the expertise of a professional HVAC technician. If you encounter complex problems or are unsure about performing repairs, don’t hesitate to seek professional assistance. Schedule regular maintenance checks with a licensed HVAC technician to keep your air conditioner running smoothly and efficiently.
Conclusion: With the right tools and knowledge, DIY air conditioner repairs can be a cost-effective solution for common AC problems. By following this step-by-step guide and conducting regular maintenance, you can keep your air conditioner in top condition and ensure your home remains cool and comfortable throughout the summer months.